 Welcome to Day 14 in the 31 Days of iOS. Yesterday, we focused on how to display lists of data using the TableView. Today we’re going to move on to something new and talk about using UIWebViews. At first glance, you might think that a web view is only useful for loading websites on the internet within your application. However, web views can be used for much more than JUST the internet. You can load local html files as well. That may not seem like much but, this is how popular frameworks like PhoneGap work. When you load a web view in your view controller, you have the ability to inject javascript and call back to your objective-C code from that javascript. This means that you can use a webpage to interact with hardware functionality if you choose to. We’ll take a look at a few different things that we can do with web views today. We’ll be starting with a brand new project, but if you’d like to follow along with the completed code, you can access it here.
Creating our project and handling the UI
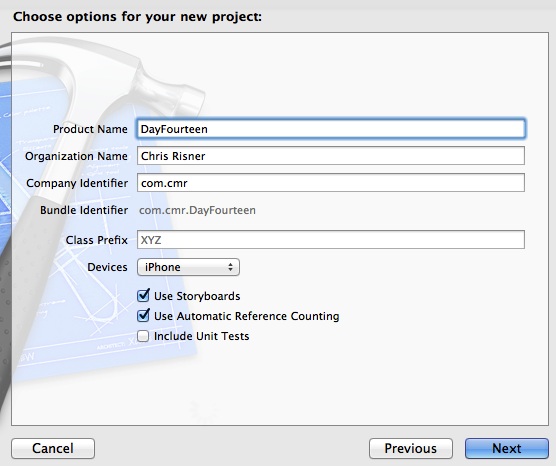
Open up Xcode and choose File, New, Project. We’ll use a Single View Application and name it DayFourteen:
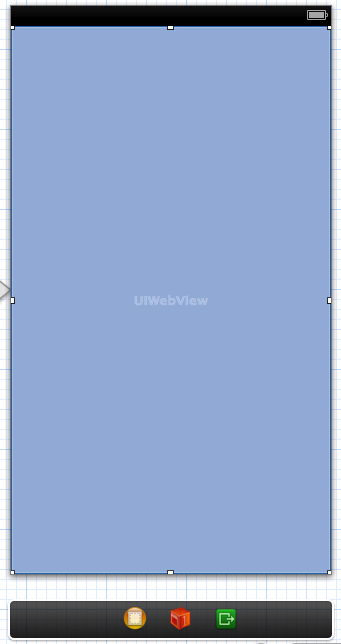
Next, open up the MainStoryboard.storyboard file. In the UI element selector in the bottom right of Xcode, find Web View and drag it onto your UI so it takes up the whole view:
Now we just need to wire this up with our code behind. To do this, open the Assistant Editor in the top right of Xcode. Next control + click and drag from the UIWebView to your code behind and create an outlet. While you are in the ViewController.h class, go ahead and make it implement UIWebViewDelegate. When you’re done, the class should look like this:
Now we’re ready to start loading web pages.
Loading an internet webpage
Switch over to VIewController.m and change your viewDidLoad method to this:
Here we’re generating a NSURL and using that to generate a NSURLRequest. We can then pass the request into our web view’s loadRequest method. Now if you run your app, we should see my website load:
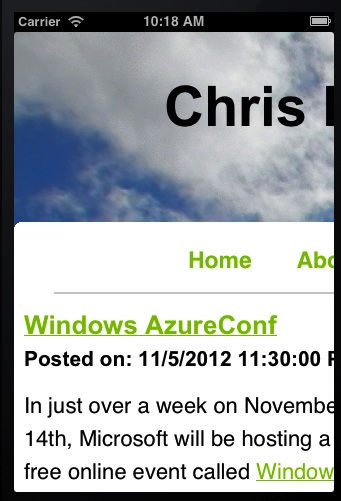
The first thing you might notice is that the site loads and it looks awful. Even more awful than it looks if you load it in Safari. The reason for this is that the UIWebView doesn’t handle many things that Safari does by default. In this case, you can’t even pinch and zoom out (or zoom in). Let’s tackle fixing that problem next.
Scaling pages
Telling the UIWebView to scale pages is actually remarkably easy. We can do it by adding one line of code to our viewDidLoad method:
Here, setting the scalePagesToFit property of the web view to YES tells it that it should scale every page it loads. Now when we run the application, we can see that my site looks a little less awful:

You’ll also notice that you can now pinch to zoom in and out. If you’re running this on the simulator, you can perform a pinch by holding down the alt / option key and then click and drag in the simulator.
Loading a local webpage
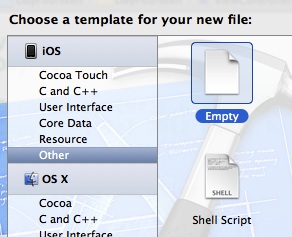
Let’s move on from loading internet web pages and look at how to load a local html file. This is useful for many different things including reusing static HTML content, building a PhoneGap style “web” iOS app, and more. We first need to add an HTML file to our project. Right click on your project folder and choose New File. In the template windows, select Other beneath iOS and pick the Empty template:
In the next window, name your file LocalPage.html then create it. You should see a new html file added to your project in the Project Navigator. Next, open LocalPage.html and edit it to have the following content:
Our page is very simple but will serve our uses. Now let’s return to ViewController.m and make it load the page. Change the viewDidLoad to match the following:
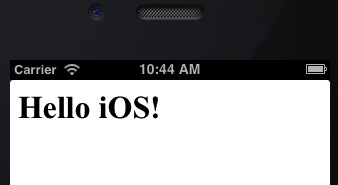
First we get a NSString which contains the path to our local file. Notice that we use the NSBundle mainBundle to actually get the path for the file since we don’t know what it is. If we had put the html file in a subgroup in our project, we could pass the name of it in as the directory. Since we didn’t we’re passing in nil. We then use NSString’s stringWithContentsOfFile method to open that file and dump it’s contents into a NSString. We then use the web view’s loadHtmlString method to load the NSString. Now when we load our app, it will look like this:
Injecting javascript
Now that we’ve seen how to load a local file, let’s take this a step further and see how we can inject javascript. We’ll do this with our local page though it should also work on a remote page as well (you’d need to use a NSURLConnection to request the web page and get it’s content and then load it into web view, but the concept is the same). Again we’re going to make some modifications to the viewDidLoad method:
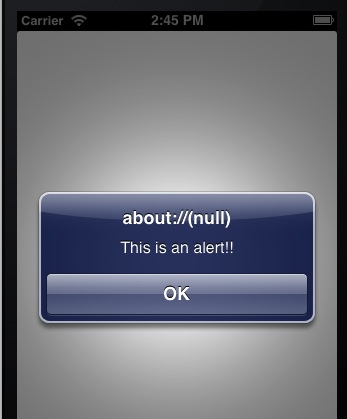
Here we’re creating a NSString with our javascript in it. We then use the stringByAppendingString method on our html string and append the javascript string to it. We could just as easily prepend the javascript so it was before the html if we wanted. Then, we load our web view in the same way. Now when we run our app, we get an alert window right away:
We’ll next use this to do something a little more advanced and actually hook back into our iOS code!
Handling callbacks
The first thing we need to do is change up our html:
As you can see, we’ve added an html input of type button that has an onclick method. In that method we are setting the window.location variable on the DOM. Whenever the location is changed, a method is fired against the UIWebView. This is a method we can intercept by implementing the UIWebViewDelegate. Hop over to the ViewController.m. Before we can implement the delegate method, we need to tell the web view that ViewController will act as it’s delegate:
I’ve commented out the javascript we were adding for now just so we won’t see that when our webview loads. Now, we can add the shouldStartLoadWIthRequest method:
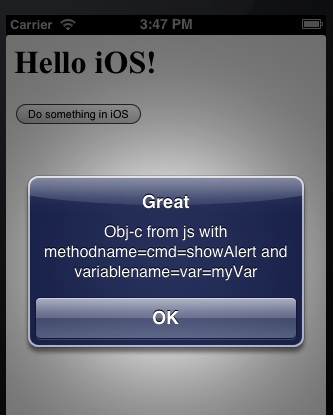
If you put a breakpoint at the start of this method, you’ll see that it’s called right when you load the web view from the viewDidLoad method. In this method, we’re getting the URL from the request and then we’re checking the schema of that URL. If it matches what we are setting the location property to (callmycode) then we know that we can do some special processing. Here, we’re pulling out the additional query string params and then using them to populate a NSString which is used to show a UIAlertView. I’m not actually pulling out the individual parameter values here and you could probably find a better way to parse them, but this works for what we want to show. Now when we run our app and tap the button in our web view, we should see this:
Calling javascript from Objective-c
The last thing we will look at is how to call javascript from your objective-c. This is very easy to accomplish by calling the stringByEvaluatingJavaScriptFromString method on your web view. You’ll want to do this somewhere other than in the viewDidLoad method or your web view won’t load properly. Here is an example of calling that method which you could put in to the shouldStartLoadWithRequest instead of showing the UIAlertView if you wanted to:
Conclusion
Today we covered a lot of ground with how to use UIWebView’s in your application. As you’ve seen, there is a lot more you can do with a web view then just load a page from the internet. Many applications use this capability to do some very cool things. You can access the completed source code from today here.