☰
Chris Risner Photography
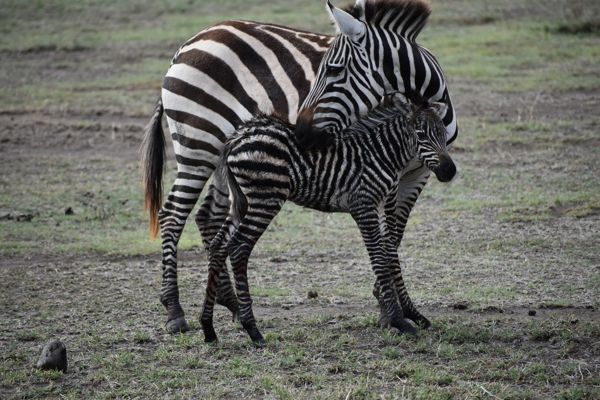
Africa
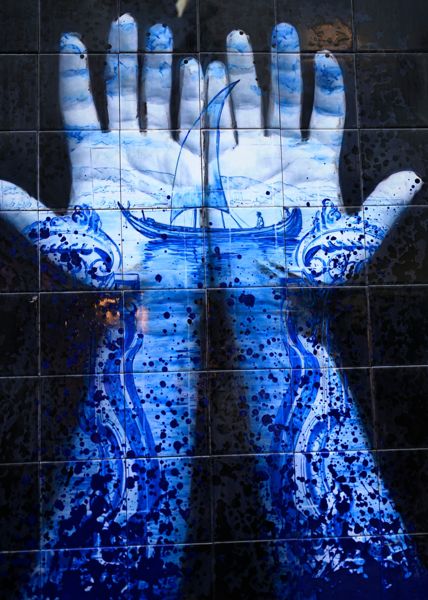
Art
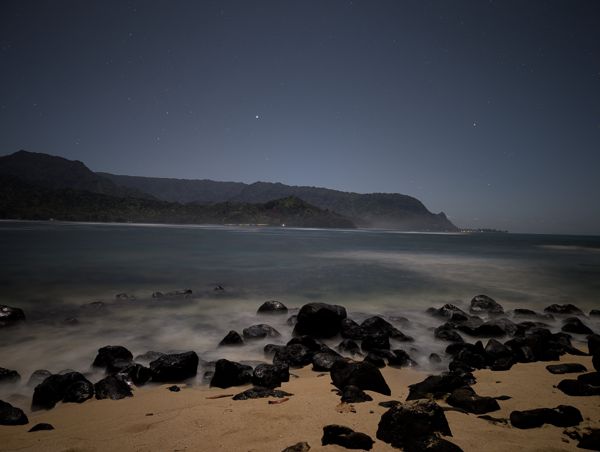
Hawaii
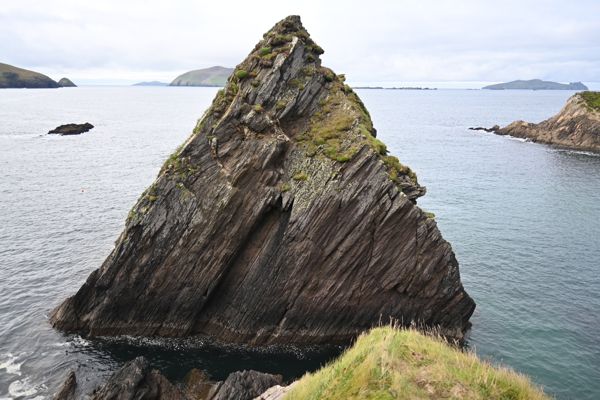
Ireland
Portugal
Signs
Street